
Proper roof drainage is a cornerstone of home protection in Louisville’s ever-changing weather. At Cardinal Gutters in Louisville, KY, we emphasize that even small components—like a gutter drip edge—play a pivotal role in safeguarding your property against water-related damage. In this extensive guide, you’ll learn what gutter drip edge is, why it’s essential, the various materials and styles available, installation best practices, maintenance tips, and how Louisville’s unique climate influences performance. This post is designed purely to inform; no commitments or promises are made on behalf of Cardinal Gutters.
What Is a Gutter Drip Edge?
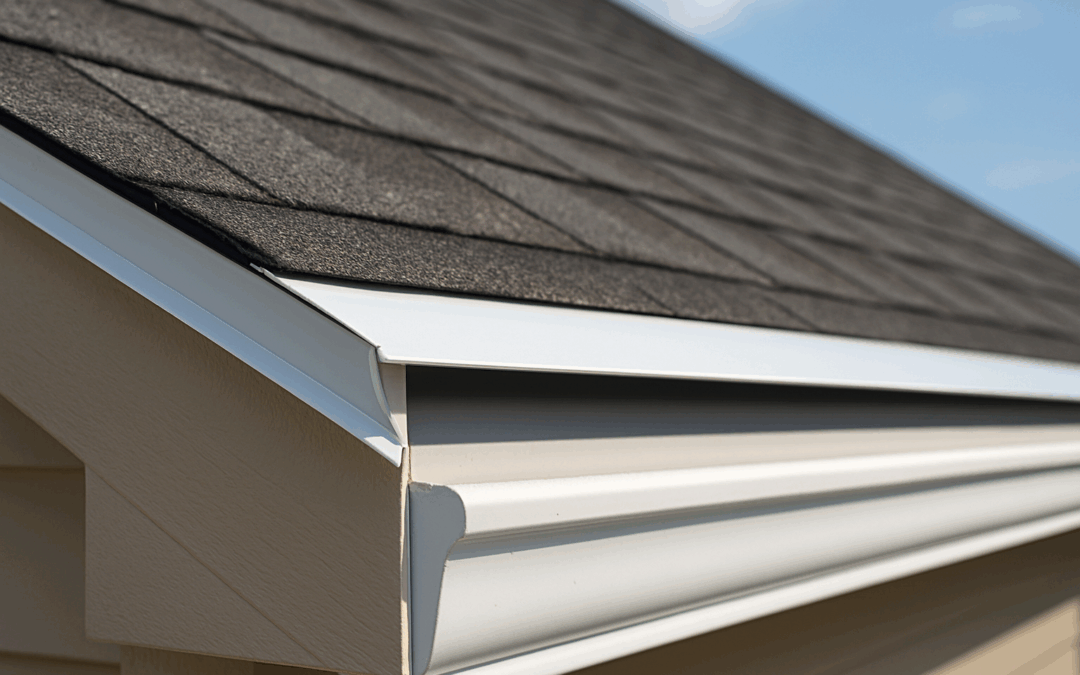
A drip edge is a metal flashing installed at the roof’s perimeter, extending just past the fascia and gutter line. Its chief purpose is to ensure that rainwater flows directly off the roof into the gutter channel, rather than seeping behind the fascia or beneath the roofing underlayment. Properly integrated, a drip edge maintains the integrity of the roof deck, fascia boards, soffits, and the gutter system itself.
Core Functions and Benefits
- Water Diversion & Protection
- Roof Deck Safeguard: Prevents water from wicking under shingles and rotting the roof deck.
- Fascia & Soffit Defense: Shields wooden fascia and soffit from moisture exposure and decay.
- Ice Dam Mitigation
- Louisville can experience freezing rain and winter thaw cycles. A drip edge allows meltwater to channel cleanly into gutters instead of refreezing under shingles, reducing the risk of ice dams forming at the eaves.
- Enhanced Gutter Efficiency
- Smooth water delivery into the gutters reduces splash-back onto siding and walkways, minimizing staining and erosion around the foundation.
- Code Compliance
- Many modern building codes require drip edge installation for new roofs and re-roofs. This simple flashing helps meet code standards for roof drainage and edge protection.
Materials & Profiles: Choosing What’s Right
Common Materials
- Aluminum:
- Lightweight, corrosion-resistant, and often pre-painted in a range of colors to match your trim.
- Galvanized Steel:
- Strong and durable; may require touch-up painting over time to prevent rust.
- Copper:
- Premium option with a natural patina that develops over years—ideal for historic homes or high-end architectural styles.
Profile Styles
- Type A (Straight-Flange):
- Basic L-shaped design that fits under the first row of shingles.
- Type B (Hemmed Edge):
- Features a folded hem for additional stiffness and a clean edge appearance.
- Type C (Gutter Bead):
- Integrates a drip flange with a gutter bead, creating a seamless transition from roof to gutter.
Installation Best Practices
Underlayment & Shingle Integration
- Eave Edge: Install drip edge beneath roofing underlayment but over the fascia board.
- Rake Edge (Gable Ends): Position drip edge over underlayment to direct wind-driven rain and snowmelt off the roof.
Fastening Techniques
- Fastener Placement: Use corrosion-resistant nails or screws spaced every 8–10 inches along the drip edge flange.
- Sealant Use: At corners and joints, apply a high-quality roofing sealant to safeguard against leaks.
Ensuring Compatibility
Before adding drip edge to an existing gutter system, verify that the new flashing will clear gutter hangers and not interfere with the gutter lip. Precise measurements of fascia depth and gutter projection are critical.
Maintenance & Inspection Guide
Regular Inspections
- Frequency: Inspect at least twice yearly—after Louisville’s pollen-heavy spring and before autumn leaf fall.
- What to Check: Look for loose or missing fasteners, deformities in the flashing, and any separation between drip edge sections.
Cleaning & Upkeep
- Debris Removal: Keep the roof edge clear of leaves, twigs, and other material that might trap moisture.
- Corrosion Checks: Examine painted or galvanized surfaces for early signs of rust or paint breakdown; touch up as needed.
Repair vs. Replacement
- Minor Gaps: Seal small separations with roofing-grade sealant.
- Severe Damage: Bent, cracked, or heavily corroded drip edge should be replaced to restore full protection.
Louisville’s Climate Considerations
Rainfall Patterns
- Louisville averages around 46 inches of rain annually, including heavy spring and summer storms. A dependable drip edge ensures that torrents of rainwater are directed away from sensitive roof components.
Freeze–Thaw Cycles
- Occasional winter freezes followed by daytime thaws can exacerbate ice dam formation. Drip edge helps meltwater seamlessly enter the gutter, reducing buildup at the roof’s edge.
Sun & UV Exposure
- Kentucky’s sunny summers can degrade coatings over time. Selecting a UV-resistant finish and periodically inspecting for chalking or fading will prolong the lifespan of your drip edge.
Frequently Asked Questions (FAQs)
Q1: Is drip edge mandatory on all homes?
Building codes vary, but most local Louisville codes require drip edge installation on new roofs to prevent water intrusion and damage.
Q2: What is the average cost?
Material and labor costs typically range from $1.50 to $4.00 per linear foot, depending on the metal type and project complexity.
Q3: Can homeowners install drip edge themselves?
Installation involves working at heights and integrating with roofing underlayment and shingles. For safety and proper performance, professional guidance is advisable.
Conclusion
A well-designed gutter drip edge is a small yet vital component in maintaining a healthy roof and gutter system—especially under Louisville’s diverse weather conditions. While this guide has detailed the materials, profiles, installation best practices, and maintenance considerations, your specific roof configuration and local code requirements may warrant further research.
At Cardinal Gutters, we believe informed homeowners make the best decisions for their properties. By understanding how drip edge works and why it matters, you’re better equipped to preserve your home’s integrity and avoid costly repairs in the future. For more informational resources or to explore additional gutter and roofing components, consult manufacturer guidelines or local building authorities. Thank you for reading, and here’s to a well-drained roof and a dry, protected home!